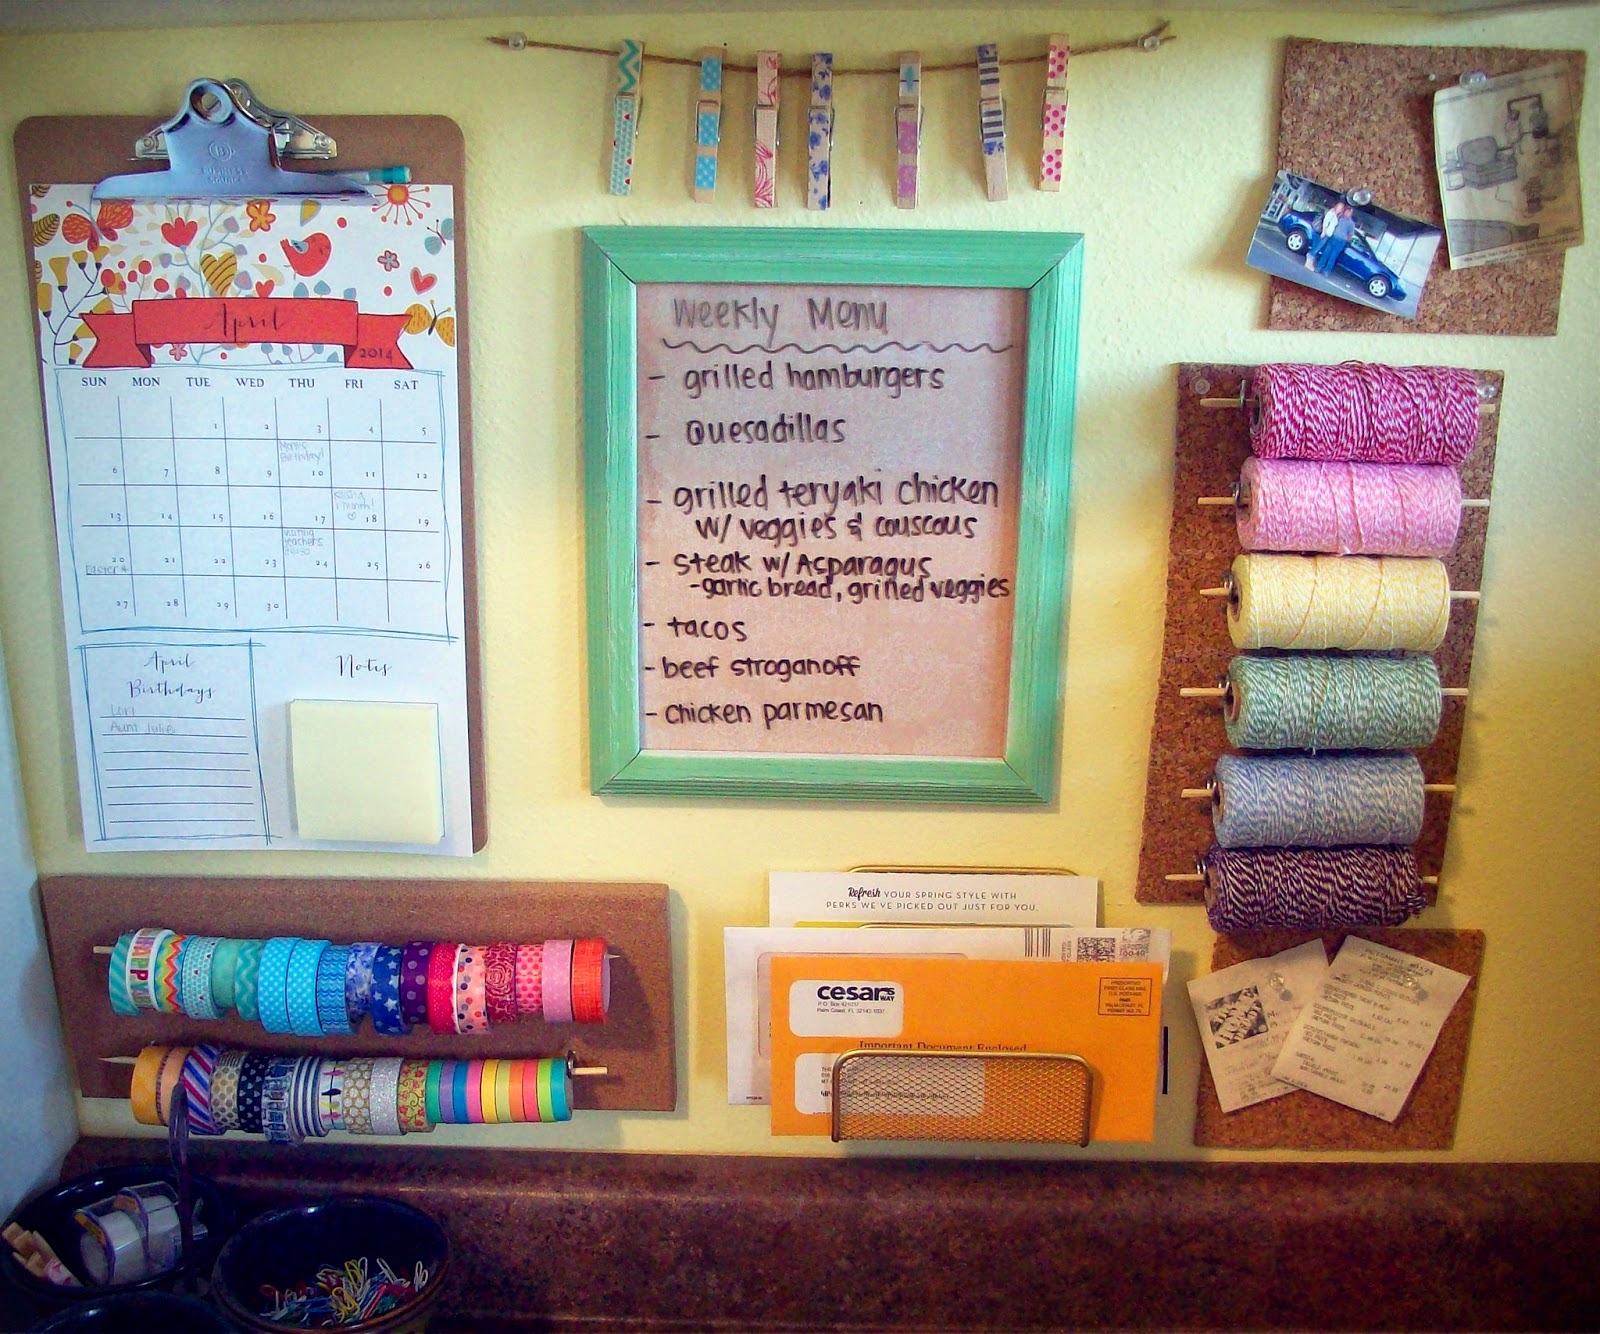
I have been on a mission to re-organize (or just plain organize) the cluttered spots of my home. I had bought all of those awesome bins from Dollar Tree and I was ready to start putting them to good use. I decided to start with the cabinet in my kitchen above our desk (and "command center") that, on one shelf, houses my craft supplies and my office supplies.
The items I was storing there had long outgrown the space so I decided it was time to separate the craft things from the office supplies and dedicate the shelf in the cabinet solely to office supplies.
Here is a before look at the cluttered mess of a shelf it was before...

As you can see I was really cramming things in there and it just doesn't make sense to have notepads with glitter with pens with paint with mod podge with binder clips. There was no organization. And I won't even start with that wicker basket overflowing with my crafty odds & ends.
So I took everything off the shelf and put it on my kitchen table. I separated everything into two categories: Craft & Office. Anything labeled Craft would go to another area of my home. Everything labeled Office was going back on the shelf.
Once I could see everything that would be going back on the shelf I picked out my Dollar Tree bins & put my office supplies back on the shelf.
Here's how it turned out!

I love it! Nothing is left sitting out. Nothing is overflowing or falling over. Everything has a place so it is easy to get out AND put away.


In this blue basket (from Dollar Tree) I have a set of stamps I use in my planner and 2 back up rolls of tape (the roll I'm currently using it out on desk in an organizer). This container is by no means full. I can utilize vertical storage if I find something else should be stored in here. However, for now I think this set up is perfect. I can easily see and get to what is in this basket.
This blue basket sits on top of another blue container from Dollar Tree...

This was actually labeled as a food storage container but I liked that it had a locking lid so I decided to use it for storing other things. Currently it houses a bunch of little stickers I ordered from LilBitCountryDesigns on etsy. They are bill pay reminder stickers I use in my planner. At the time I received them I didn't have anything to organize each type of sticker and I didn't want to just put them in small ziploc bags for fear that they might get bent or squished. Instead, I have corralled them all in this container to at least keep them for getting damaged. I'll admit it isn't fun digging through all of the stickers to find the one I want so I'm on the hunt for a better way to store these. In the mean time though, this will do just fine! At least they are all in one place and aren't going to be falling out!
This next container is another one that isn't my ideal set up but does the job so until I find something else this will work just fine.

I am using a tupperware container I already had on hand to hold my unused binder clips and extra magnets. I do use magnets on my fridge to hang up reminders and important things I need to take care of. I don't like having unused magnets scattered across the front though so I took the extras down and placed them in the cabinet so they are out of sight but easy to access when needed.
I have two pen cups on this shelf now. One is for miscellaneous writing utensils: permanent markers, dry erase markers, my husband's pens, extra pencils, etc. I'm also storing our hole punch in this cup. This cup was purchased a year or two ago from Walmart's office section. The cup was black and I used mod podge to cover it with some cute scrapbook paper.

The second cup (which I picked up from Target in their Dollar Section) houses the pens I use specifically for my planner, calendars, and list making.

The last containers are these awesome stacking bins from Dollar Tree that I'm using to store my planner accessories

The top bin holds my most used accessories. I have a smaller container inside the blue bin to sticky notes, page flags, labels, etc. The smaller container helps to keep those items standing up. Just next to that I have larger notepads. In the space at the end I have stored a glue stick, paper punch, stapler, and extra staples.


This bin is really easy to pull out and set on the desk when it comes time for planning. I love having everything together in one bin!
Here's the bottom bin...

The majority of this space is going towards my overflow washi storage.
But I'm also storing chalkboard clips & clothespins...

Mini clothespins...

Chalk (for chalkboard labels)

I really like how easy it is to stack these bins on top of each other with the little folding lip on the side.


I love opening this cabinet now!
But I'm not done! Because for some reason my husband didn't want the craft supplies piled on the table ;) so I had to find somewhere to store them...
I settled on a mostly empty Sterilite 3-drawer organizer. I don't have a ton of craft supplies so I was able to organize everything into 2 drawers.

In the front I have my acrylic paint, chalkboard paint, and small paint brushes.
In the red container I have some gift wrap decorations and tags. Off to the side is my glitter and mod podge.

In the red bin I'm utilizing an old gum container to hold my gift tags to keep them from falling all over the place.

In the back container I have different kinds of cords, twine, string, and some extra scraps of lace.

The bottom drawer is pretty empty and random. But I only had a few miscellaneous items left so I tried to lay them out as neatly as possible.

I'm storing some craft sticks, marbles, and cricut cut outs.
I saved a box that came with an order from Sephora a few years ago

I decided to use it to corral the little odds and ends I didn't want rolling around in the drawer.

Old paint brushes, confetti, small bags from online orders, thread, bottle caps, etc.
And the best part is, I got my basket back! I can use this as decor in my house instead of hiding it away in a cluttered cabinet!

It feels so good to finally take care of this space!
xoxo